Monday, March 3, 2014

Lux - Week 2, Day 2

Did I miss Day 1? Yes, yes I did. But I played meself some League of Legends, so I call it a success. Did I play the new hexakill game with Lux? And did I dominate?
Oh yeah.

Day 2:
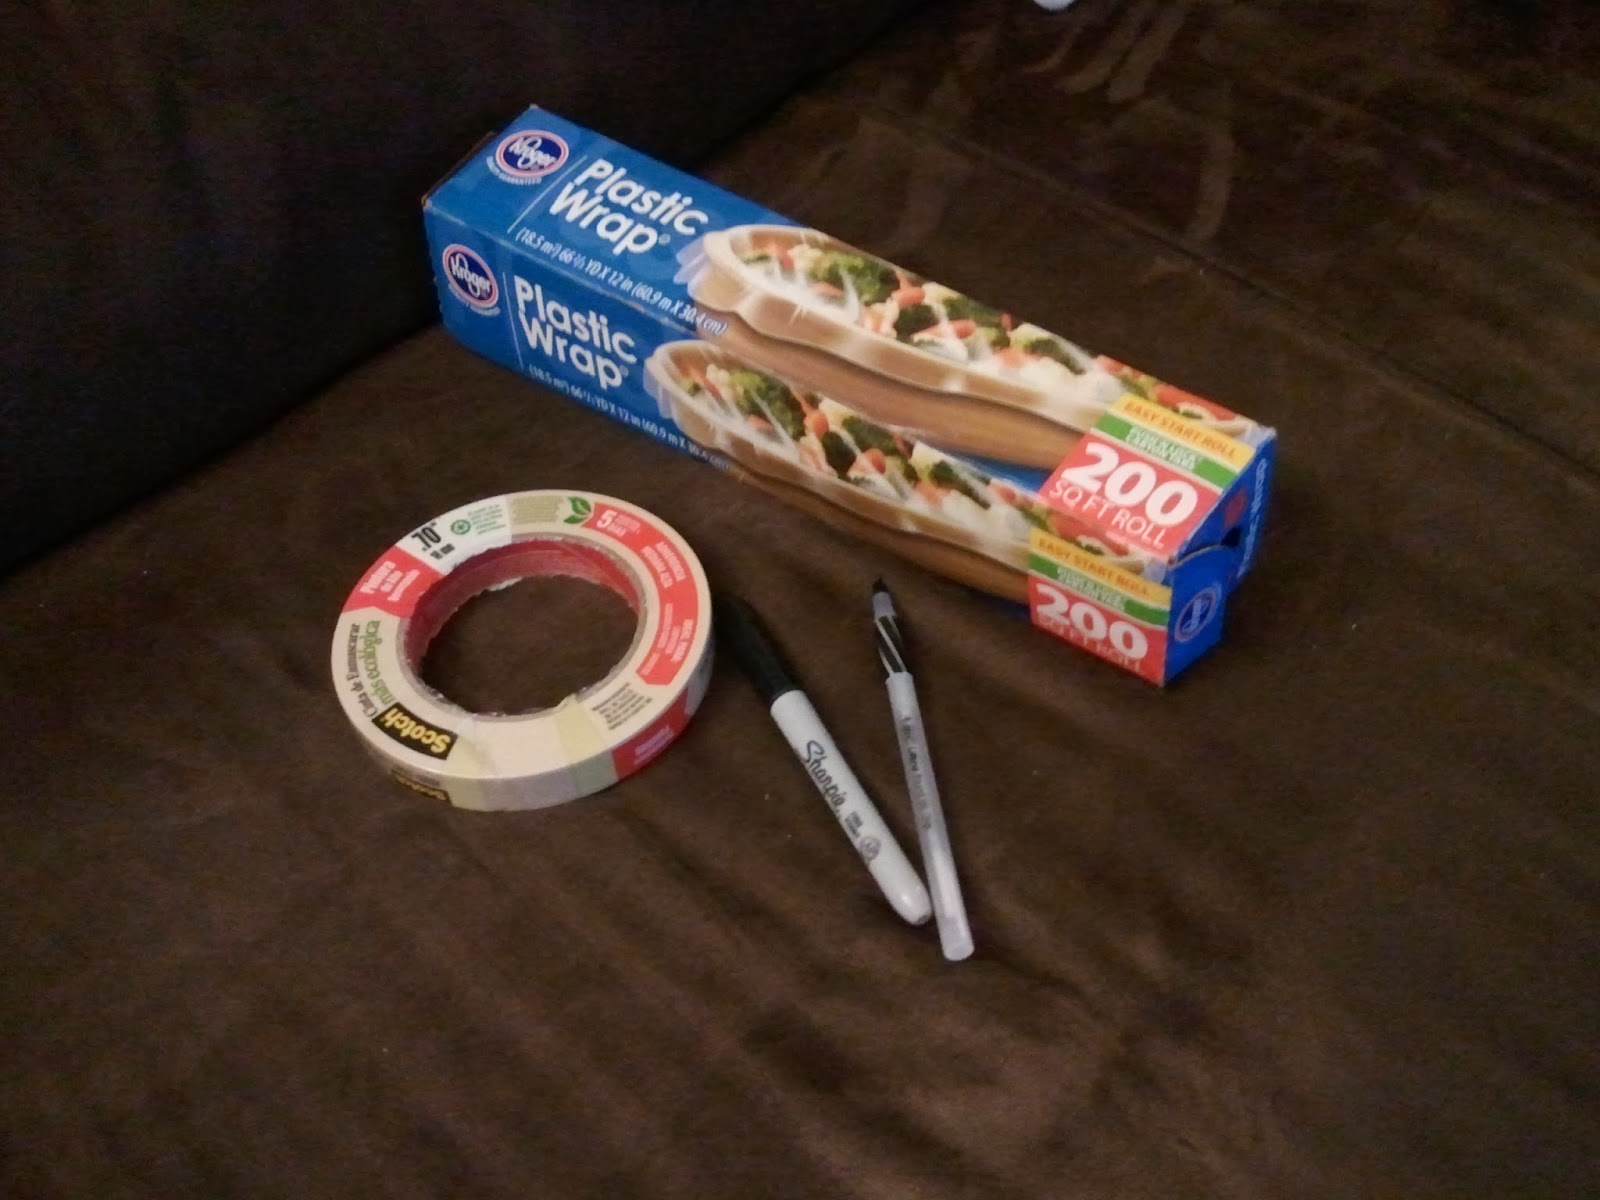
I scrounged up some hot glue sticks to use! So I was able to attach my breast plate cups to my breastplate.
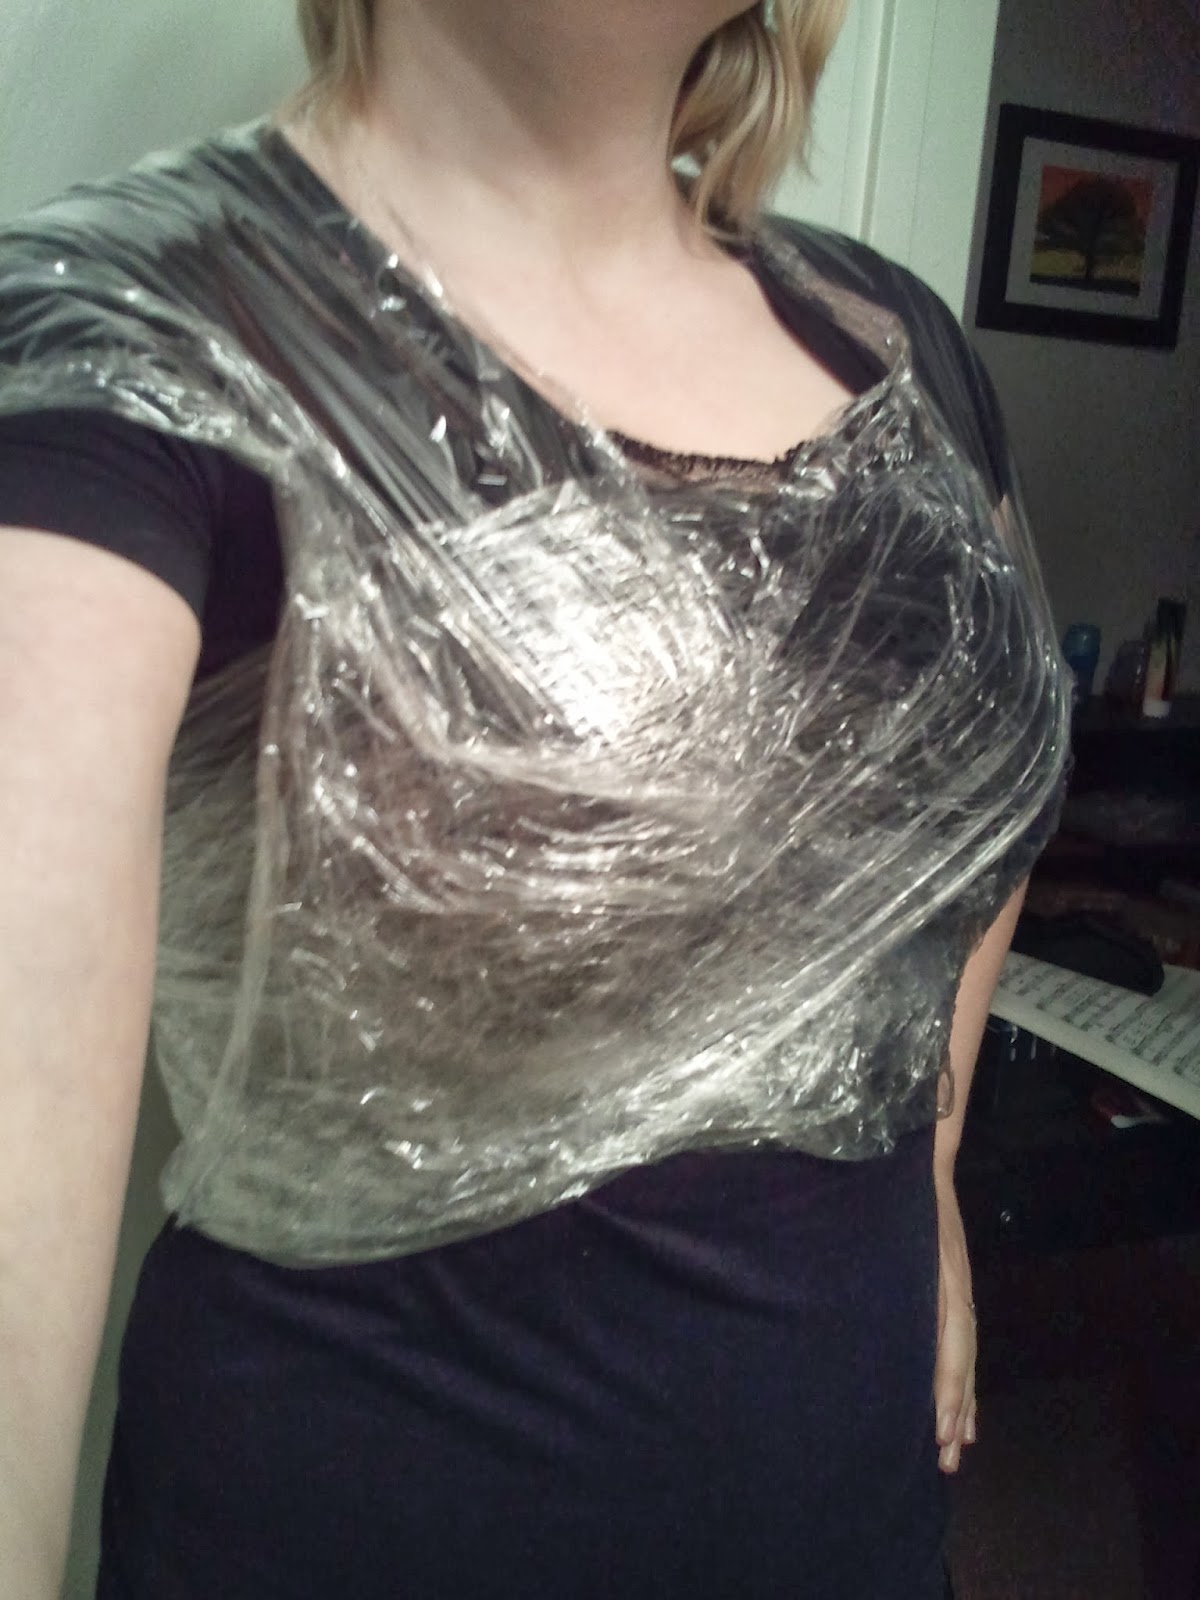
Oh wait, I couldn't very well. The cups don't have smooth edges, I cut the holes too big, and generally decided it wasn't going to work. So I tried again (hey, the foam sheets are only 99¢) and this time, I cut the top of the breastplate down so I wasn't trying to fit the cups into full circles.
It worked a lot better, and I was able to use the hot glue to fill in a gap as well. I think it also helped that I didn't even cut out the holes until after I glued the cups on...
 I traced where they should be, but cut out the back after the glue dried. I think it worked okay for now, and I can trim up the edges as needed when I'm able to fit it on me. I also finished the base of the rest of the breastplate today!

 The piece across the top front
 Creating the decorative clasps to the shoulder straps
 Eventually, I'm thinking they will be velcro'd on so I can get in and out of this thing.
 I also added smaller circles for the rubies, and snipped beveled edges so that hopefully once painted it looks like a faceted gem. We'll see!
 (Here's where it would sit, it looks odd when flat, but I like to think it'll look just fine when it's on)
 Simple straps with slightly rounded edges on each end
 And a similar piece across the back of the breastplate with more decorative clasps!

I'm pretty happy that the time I spent on it today seemed to have more visible results, and I'm excited to get closer to the detailing/spray painting steps, because that's when I think it'll really be clear whether it is coming together or not.

I also did a bit of work on the boots - this time, I'm using 2mm foam so it's not as bulky, especially since I'm not sure if I'm going to have to create a false boot cover out of foam or if I can just use my black boots. They are a faux suede feel, so I'm not sure if duct tape (my go to method of attachment) would damage them with prolonged use and I'm wondering if I can simply pin pieces on... I'm still looking at my options. Not quite ready to give these boots up yet, so I think I'll keep my eye out at thrift stores and see if I can spot anything.
 I did the toe pieces and the metal band around the foot. I pulled out my hair dryer, but the internet was right - it simply does not get hot enough, even with this thin foam. It wasn't much more effective than my hands, and I found out that I could use my fingers to stretch it a bit and mold it as needed - my band that I initially cut wasn't quite long enough, but it has some give in it and friction from my fingers was enough to persuade it to go where I wanted it. I suppose we'll see if it keeps its shape like it does with heat!

Also, this probably won't be as interesting to anyone but my mother (since she's the one who inspired this part, as always), but I had a chance to play around with hot glue! The dots are going to simulate rivets, particularly as decoration on the boots (there's a band across the top that looks like nothing but) and there's gold edging on the armor I've been looking at. If I can keep up a steady stream of glue, it will raise the edge and also hide any rough edges from my scissors.
It might look a little messy but it is three attempts on top of each other. Also, pro tip, don't turn things sideways while liquid glue is balancing on an edge. It is not very good at balancing.


Saturday, March 1, 2014

Lux - Week 1

Day 4:
Be too busy. Clean and act like an adult, but be useless at work. Cry a little inside.

Day 5:
Hooray! Pull out the pattern pieces and cut along the lines you drew. I also separated the front of the breastplate from the back.

If you noticed, I kind of left the belt pieces alone for now because I'm still seeing if this works out. 
Take your craft foam
 And trace out your pattern pieces!
 Not sure if you can see my lines, but you probably don't need to. It's a pretty straightforward thing, tracing.
 I would just take care not to dent the foam too much - I traced lightly with a ballpoint pen and it worked just fine, even on black.
"But how do I do rounded pieces?" you ask. It's okay, I heard you - and turns out, it's actually pretty easy. Cut out a square about half again larger than the pattern piece you will need and heat it up. I've heard that a hair dryer doesn't really get hot enough, and you will need a craft heater gun or use your stove. I definitely don't have a heating gun, so I just turned up the heat and held the foam over it.
 Then I took a ball of yarn, because apparently there aren't many spheres around my place, and stretched the warm foam over it.
 If it cools down, and you need more shaping? Heat it up again. However, the craft foam I used was only 3mm thick, and a lot of the tutorials I was looking at were using thicker, so when I heated it up again it started flattening out again. I ended up turning the heat way down, and my theory is a hair dryer might work on this. I will keep you updated.

Anyway, lay your pattern piece over the sphere shape now.
 Trace and cut out! I would definitely, definitely recommend cutting outside the lines and trimming as needed. I ended up reshaping one just to make sure I could get it to fit.
 But I was able to trim things down and I think they will work. Do I know? ....No. Because I realized I had forgotten to get hot glue for my hot glue gun.
 Ah, well. Front and back. We'll see...


Day 6:
Forget glue again. So work on the boots instead! First, I made an exact pattern of the boots I have. 

I cut it down the inside, where the zipper is on my boots.
Again, there are extra lines because I haven't decided exactly what to do yet. Her main boots are black so I'm considering just attaching the decoration to the boots I have, but it depends on if I can attach the decor without ruining the suede (because I actually like my boots and want to keep wearing them). So, just in case, this pattern!

Day 7:
Be busy again, but excited for my weekend where I'll have lots of time to get hot glue and work on things! (also, play the stinkin' game!)
Also, write this blog post like I promised I would yesterday and the day before.
More to come - I'll keep you posted! Eventually. 

Tuesday, February 25, 2014

Lux - Day 3

I went to the craft store and picked up all the supplies I should need! Then came the part that goes perfectly amazingly in my brain but in all honestly are probably much more difficult.

BEGINNING THE PATTERN

Supplies:


The first step in creating a pattern from your body with the method is either using old clothing or creating a protective covering. I chose to use plastic wrap to cover the area I wanted to map out.

'

 Next, you cover yourself with masking tape!


One good tip I got (...from youtube...) is to not just wrap the tape around your body because it might constrict too much to give you an accurate measurement. This took me about an hour... I first thought about doing the shoulder straps at the same time but about the time I got to my shoulder blades I changed my mind - it was something I could do better without wearing it like this.

Next, draw the lines to follow for your armor. Spoiler alert - it is actually quite difficult to draw on yourself in a mirror. Not something my brain connected with at all!

 Also, I started cutting it off before I remembered to take a picture. There are also layers in the armor, so for my brain I drew a bit of the top layer I haven't built yet just to make sure my brain is following along. Once you're satisfied (enough), cut it off in a place where you wouldn't mind a seam (I chose down one side, for now). Later you will be cutting the pieces apart.

Next I did the armor belt:


Since I have less curves around my waist, I used longer pieces of tape and it went much faster. Again, did two layers for lines and luckily with this method if I want to resize or adjust it just takes more tape and time. I also did the bracers: 

This is as far as I've gotten tonight - I don't want to cut them apart until I have time to trace them onto craft foam! That will be the main structure for my armor.

I'm a little nervous because I know it's not very clean right now, but I'm hopeful that it will turn out!

SLC Comic-Con Fan Xperience

You guys. You have no idea how excited I am for this. In the past couple of days, I've decided a few things - I'm going to make a completely epic cosplay, and I'm going to blog the day by day makings of it so you can see, I can straighten it out in my brain, and I don't end up with a post a mile long that I skim over because I'm tired of the whole project. So... it begins.

Day 1. 

First I had to decide on a character. Behold:
Lux, the lady of luminosity! Are you impressed that I found an attractive female video game character with believable boobs and not an ounce of cleavage? I am, sometimes. But I also enjoy playing her, so I won't feel like a fraud flouncing around as her for a day.

 I looked at a lot of various pictures, found a few papercraft models, and most importantly consulted my genius of a mother for building ideas.

Day 2.

I spent several hours on the internet (more than I intended) researching different building materials people commonly use and watching tutorials on youtube (have I ever mentioned how much I love the internet?)

I determined I was going to use craft foam, because even though wonderflex sounds like an incredible thing I've still never done this before.

Also, I found a full handless/headless blue bodysuit for about $20, and it should get here in a couple weeks. (Again. Internet. <3)

It's day 3 right now, but I'm only beginning! I'll get back to you guys. Trust me, I can't shut up about this. So exciting!