Monday, March 3, 2014

Lux - Week 2, Day 2

Did I miss Day 1? Yes, yes I did. But I played meself some League of Legends, so I call it a success. Did I play the new hexakill game with Lux? And did I dominate?
Oh yeah.

Day 2:
I scrounged up some hot glue sticks to use! So I was able to attach my breast plate cups to my breastplate.
Oh wait, I couldn't very well. The cups don't have smooth edges, I cut the holes too big, and generally decided it wasn't going to work. So I tried again (hey, the foam sheets are only 99¢) and this time, I cut the top of the breastplate down so I wasn't trying to fit the cups into full circles.
It worked a lot better, and I was able to use the hot glue to fill in a gap as well. I think it also helped that I didn't even cut out the holes until after I glued the cups on...
 I traced where they should be, but cut out the back after the glue dried. I think it worked okay for now, and I can trim up the edges as needed when I'm able to fit it on me. I also finished the base of the rest of the breastplate today!

 The piece across the top front
 Creating the decorative clasps to the shoulder straps
 Eventually, I'm thinking they will be velcro'd on so I can get in and out of this thing.
 I also added smaller circles for the rubies, and snipped beveled edges so that hopefully once painted it looks like a faceted gem. We'll see!
 (Here's where it would sit, it looks odd when flat, but I like to think it'll look just fine when it's on)
 Simple straps with slightly rounded edges on each end
 And a similar piece across the back of the breastplate with more decorative clasps!

I'm pretty happy that the time I spent on it today seemed to have more visible results, and I'm excited to get closer to the detailing/spray painting steps, because that's when I think it'll really be clear whether it is coming together or not.

I also did a bit of work on the boots - this time, I'm using 2mm foam so it's not as bulky, especially since I'm not sure if I'm going to have to create a false boot cover out of foam or if I can just use my black boots. They are a faux suede feel, so I'm not sure if duct tape (my go to method of attachment) would damage them with prolonged use and I'm wondering if I can simply pin pieces on... I'm still looking at my options. Not quite ready to give these boots up yet, so I think I'll keep my eye out at thrift stores and see if I can spot anything.
 I did the toe pieces and the metal band around the foot. I pulled out my hair dryer, but the internet was right - it simply does not get hot enough, even with this thin foam. It wasn't much more effective than my hands, and I found out that I could use my fingers to stretch it a bit and mold it as needed - my band that I initially cut wasn't quite long enough, but it has some give in it and friction from my fingers was enough to persuade it to go where I wanted it. I suppose we'll see if it keeps its shape like it does with heat!

Also, this probably won't be as interesting to anyone but my mother (since she's the one who inspired this part, as always), but I had a chance to play around with hot glue! The dots are going to simulate rivets, particularly as decoration on the boots (there's a band across the top that looks like nothing but) and there's gold edging on the armor I've been looking at. If I can keep up a steady stream of glue, it will raise the edge and also hide any rough edges from my scissors.
It might look a little messy but it is three attempts on top of each other. Also, pro tip, don't turn things sideways while liquid glue is balancing on an edge. It is not very good at balancing.


Saturday, March 1, 2014

Lux - Week 1

Day 4:
Be too busy. Clean and act like an adult, but be useless at work. Cry a little inside.

Day 5:
Hooray! Pull out the pattern pieces and cut along the lines you drew. I also separated the front of the breastplate from the back.

If you noticed, I kind of left the belt pieces alone for now because I'm still seeing if this works out. 
Take your craft foam
 And trace out your pattern pieces!
 Not sure if you can see my lines, but you probably don't need to. It's a pretty straightforward thing, tracing.
 I would just take care not to dent the foam too much - I traced lightly with a ballpoint pen and it worked just fine, even on black.
"But how do I do rounded pieces?" you ask. It's okay, I heard you - and turns out, it's actually pretty easy. Cut out a square about half again larger than the pattern piece you will need and heat it up. I've heard that a hair dryer doesn't really get hot enough, and you will need a craft heater gun or use your stove. I definitely don't have a heating gun, so I just turned up the heat and held the foam over it.
 Then I took a ball of yarn, because apparently there aren't many spheres around my place, and stretched the warm foam over it.
 If it cools down, and you need more shaping? Heat it up again. However, the craft foam I used was only 3mm thick, and a lot of the tutorials I was looking at were using thicker, so when I heated it up again it started flattening out again. I ended up turning the heat way down, and my theory is a hair dryer might work on this. I will keep you updated.

Anyway, lay your pattern piece over the sphere shape now.
 Trace and cut out! I would definitely, definitely recommend cutting outside the lines and trimming as needed. I ended up reshaping one just to make sure I could get it to fit.
 But I was able to trim things down and I think they will work. Do I know? ....No. Because I realized I had forgotten to get hot glue for my hot glue gun.
 Ah, well. Front and back. We'll see...


Day 6:
Forget glue again. So work on the boots instead! First, I made an exact pattern of the boots I have. 

I cut it down the inside, where the zipper is on my boots.
Again, there are extra lines because I haven't decided exactly what to do yet. Her main boots are black so I'm considering just attaching the decoration to the boots I have, but it depends on if I can attach the decor without ruining the suede (because I actually like my boots and want to keep wearing them). So, just in case, this pattern!

Day 7:
Be busy again, but excited for my weekend where I'll have lots of time to get hot glue and work on things! (also, play the stinkin' game!)
Also, write this blog post like I promised I would yesterday and the day before.
More to come - I'll keep you posted! Eventually. 

Tuesday, February 25, 2014

Lux - Day 3

I went to the craft store and picked up all the supplies I should need! Then came the part that goes perfectly amazingly in my brain but in all honestly are probably much more difficult.

BEGINNING THE PATTERN

Supplies:


The first step in creating a pattern from your body with the method is either using old clothing or creating a protective covering. I chose to use plastic wrap to cover the area I wanted to map out.

'

 Next, you cover yourself with masking tape!


One good tip I got (...from youtube...) is to not just wrap the tape around your body because it might constrict too much to give you an accurate measurement. This took me about an hour... I first thought about doing the shoulder straps at the same time but about the time I got to my shoulder blades I changed my mind - it was something I could do better without wearing it like this.

Next, draw the lines to follow for your armor. Spoiler alert - it is actually quite difficult to draw on yourself in a mirror. Not something my brain connected with at all!

 Also, I started cutting it off before I remembered to take a picture. There are also layers in the armor, so for my brain I drew a bit of the top layer I haven't built yet just to make sure my brain is following along. Once you're satisfied (enough), cut it off in a place where you wouldn't mind a seam (I chose down one side, for now). Later you will be cutting the pieces apart.

Next I did the armor belt:


Since I have less curves around my waist, I used longer pieces of tape and it went much faster. Again, did two layers for lines and luckily with this method if I want to resize or adjust it just takes more tape and time. I also did the bracers: 

This is as far as I've gotten tonight - I don't want to cut them apart until I have time to trace them onto craft foam! That will be the main structure for my armor.

I'm a little nervous because I know it's not very clean right now, but I'm hopeful that it will turn out!

SLC Comic-Con Fan Xperience

You guys. You have no idea how excited I am for this. In the past couple of days, I've decided a few things - I'm going to make a completely epic cosplay, and I'm going to blog the day by day makings of it so you can see, I can straighten it out in my brain, and I don't end up with a post a mile long that I skim over because I'm tired of the whole project. So... it begins.

Day 1. 

First I had to decide on a character. Behold:
Lux, the lady of luminosity! Are you impressed that I found an attractive female video game character with believable boobs and not an ounce of cleavage? I am, sometimes. But I also enjoy playing her, so I won't feel like a fraud flouncing around as her for a day.

 I looked at a lot of various pictures, found a few papercraft models, and most importantly consulted my genius of a mother for building ideas.

Day 2.

I spent several hours on the internet (more than I intended) researching different building materials people commonly use and watching tutorials on youtube (have I ever mentioned how much I love the internet?)

I determined I was going to use craft foam, because even though wonderflex sounds like an incredible thing I've still never done this before.

Also, I found a full handless/headless blue bodysuit for about $20, and it should get here in a couple weeks. (Again. Internet. <3)

It's day 3 right now, but I'm only beginning! I'll get back to you guys. Trust me, I can't shut up about this. So exciting!

Friday, December 27, 2013

Creating a Cufflinks Box

Another installment of new crafts with Rachael!
Where she pretends like she knows what she's doing and it somehow all works out.


I wanted to get the boyfriend a cufflinks box, but I couldn't find any I really liked, or any I thought he would like that seemed worth what the stores were asking. So, I made one! It actually turned out to be fairly simple and not too expensive. (Unless the boyfriend is reading this, in which case I spent a ton of money and time, and also I am an amazing person who can do anything)
Kind of. I'm not SO deluded as to think I could actually create the box, so I got one at Michael's, and a few supplies from craft stores and Walmart.

 Fun fact: Sometimes my phone turns pictures blueish.

I chose a flatter box that came in a two pack, which was the best decision I made this whole time because I was able to play around with the woodburner on the smaller box to get used to it, and decide how I wanted to decorate it. I wanted to do a really simple design because I thought it would look classy. Also, less opportunity for me to mess it up.

 Spoiler alert, I did not freehand that. I found a stock photo on the internet and traced it, then laid it on the wood and burned through the paper for a light outline. (Again, boyfriend, don't listen. I am an artist.) The woodburner I purchased came with a couple different tips, and I used the fine point - the chisel was a little difficult to get a curve, but the point worked perfectly. Then I removed the paper and evened up the line.

I toyed with the idea of shading the bear in, but I ended up leaving him as a simple outline.

Next step: woodstain.
 I believe I chose a dark chestnut, or possibly walnut. I'm too lazy to stand up and go find it, but it's a lovely color. I focused first on the groove - I ended up using a wood skewer to just drip the stain into the groove until it was all colored. I only used one coat and rubbed it in immediately, because I didn't want it to be very dark. (Now I need to do a bunch more projects to use up the stain!)

I set it outside to dry and give my roomate and I some breathing room. Always do your projects in well-ventilated areas, guys.


And voila, a box. But I didn't just want a box - I wanted a jewelry box. So I got some hair rollers

 and removed them from their plastic prisons.

Got my box

and laid the rollers inside.
Don't make the rollers too snug, because your covering is going to fill out some space. I picked up some velvety paper at JoAnn's, next to the felt squares, so it had a pretty stiff backing. I laid it over the rollers and cut 1 1/2" strips, which reached around the rollers and touched the bottom again. I laid the rollers in one at a time and used a hot glue gun to secure both the rollers and the edges of the velvet.
Superglue was not effective on the foam, but the hot glue worked great!

 TaDa! I'm really excited how it turned out. I think I might even make myself one.

It almost makes me want to wear cufflinks!

Sunday, November 10, 2013

My New Pens

Good news, guys! I don't have carpal tunnel. I just have weird joints. Apparently normal joints in hands and fingers bend about 60 degrees, and mine bend almost 90. Hooray.

On the plus side, no surgery needed! I just need to be careful and wear wrist braces while sleeping so I don't accidentally hold them weird. On the downside, I had to go through a nerve conduction study and EMG to find this out.

If you don't know what a nerve conduction study is, roughly speaking it's where they hook you up to electricity and shock you to see what happens. Yeah, science! No but seriously, I was really nervous and I hate the thought of pain so I tried to play it cool but not sure how well I fooled them. Even after they did one arm and I knew what to expect, my lower half kept trembling like a small neurotic dog.

But the shocks weren't even the worst part. The worst part was the EMG, which boiled down to STICKING A NEEDLE IN MY ARM MUSCLES AND HAVING ME MOVE IT AROUND TO LISTEN TO IT. I'm sure that's not exactly how it works but that was how it felt (plus, I've never felt so stupid as when reading medical wikipedia entries. I thought that was the dumbed down version?)

And then instead of going back to work I went home for the day because I felt sorry for myself.

But then I got to go shopping for some weird ergonomic pens! I love pens and pencils and office supplies and after some time browsing the internet, ordered some that would hopefully prevent my hands from cramping so much.


First up, the Ring Pen, $7.89

It comes with a cap, which is pretty awesome, and is a pen with a hole in it - you put your finger through the ring, and it helps with proper grip and also doesn't need much force to keep it steady. However, it's just too tall for my tiny hands! I don't have the control I want and I can't move my grip any closer, so it's not getting much use.


Ergo-Sof PenAgain, $4.95
 This is the Ergo-Sof Pen-Again. I actually love this one! It's retractable and came with two ink refills. Instead of a ring, it's in a Y-shape with a groove down the top for comfort. It's actually very comfortable to use and I don't have to use a firm grip at all. This version is also coated with a soft silicone, making it very comfortable and helping my brain realize that it's not going to just fall out of my hands if I don't grip it tightly.


 I also bought the Twist n' Write Children's Pencil version, $6.99 for a 4-pack
 I'm not going to lie, this one is my absolute favorite! Maybe it's just my small hands, but it's the most comfortable, I get to hold it right at the tip like I want to and I just twist the tip to put it away or get more lead. It has erasers on each side of the Y and they actually work really well! No smudging and definitely no annoying streaks. And I don't need a sharpener! The only downside to this one is after a little bit of writing the tip isn't as fine as I personally like - by no means dull or unreadable, but I can't rotate it like I would with a regular pencil. If it annoys me too much I just turn it over for a minute and kind of touch up the tip.


EZgrip Pen/Tool Grip, $2.99
 For good measure, and because I'd just bought a pack of regular pencils, I got a pencil grip. Apparently the EzGrip company makes pens with this grip, but I like that I can put this grip on anything. There's a couple different ways you can hold it easily, and it has a big lip on one side - the idea is you only need to use that one finger to push. First finger...
 Thumb...
Or the knuckle of your middle finger. When I'm bored at work I color with colored pencils, and this is perfect because it slides on and off easily without falling off, and I can rotate the pencil in my hand when it starts getting dull. It's also able to be used on things like an exacto knife, so I'm really happy with it. It lives up the the claim of only needing one finger of force to keep control (even though using it that way takes a bit of getting used to) and being able to shift my grip keeps me from cramping.


All in all, it was a fun experiment and those Twist n' Write pencils are my go-to writing utensil now - I keep one in my purse and a couple at work. If you're looking for a couple interesting pens, check 'em out!

Tuesday, September 10, 2013

How I Made My Steampunk Outfit

Part II

So, the internet is awesome. In my 
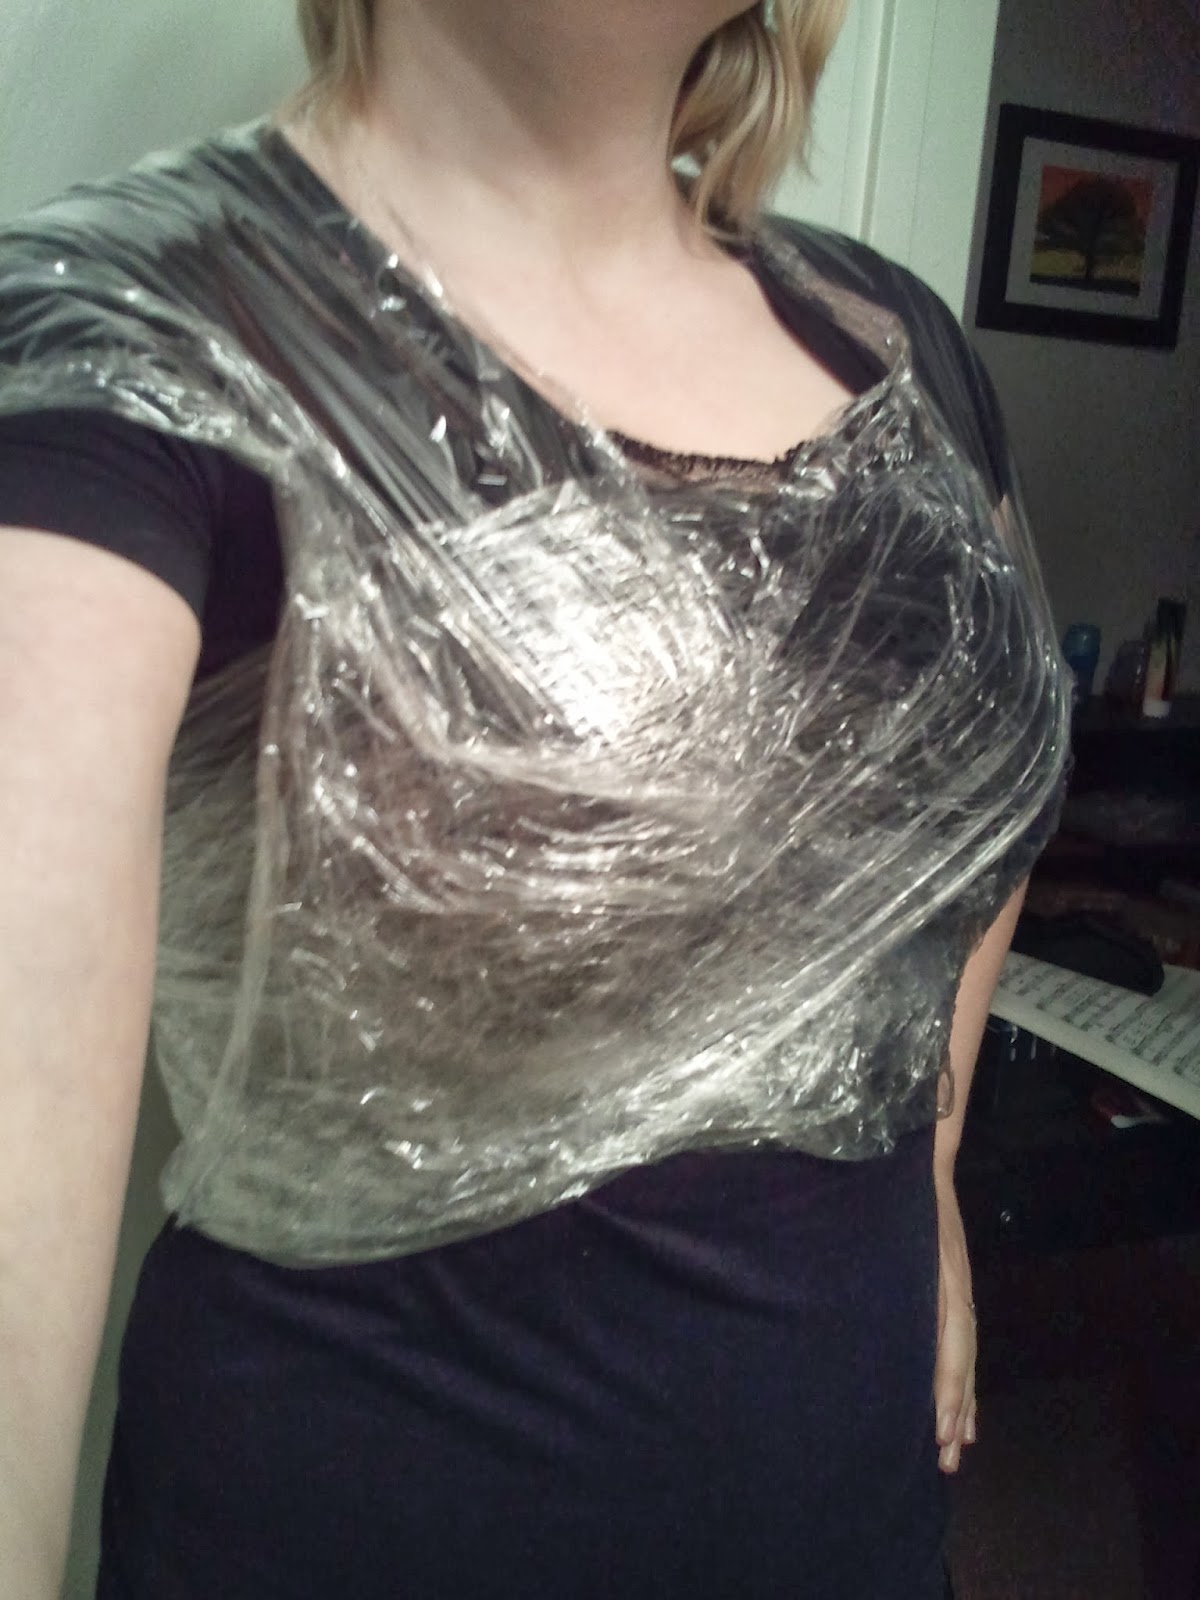
last post I talked about how I turned this:
into this:

All with the help of some package instructions and the internet. Let me tell you, the internet is incredible and makes me feel unstoppable. We have the complete knowledge of generations at our fingertips and yes I use it mostly to look at fuzzy animal pictures shut up but if I WANTED I could teach myself anything. Academics, crafts, I think if I got it in my mind to build a shed or turn my apartment into a pirate ship I could, as long as I had deep pockets and a wifi connection during construction.

So the ugly white dress became an interesting green dress, but I needed more to make it wearable/awesome. I decided to do some ruching in the front, which I have never done before. But I spent a lot of time thinking about how I would do it and decided to go for it. So I got some thread, laid out the dress, went through it a few more times in my mind, punched the needle through the fabric once and then panicked and went to the internet.

But you know what? The internet told me to do exactly what I'd imagined. (High five for me!)
 Admittedly, it didn't turn out exactly how I'd imagined it in my brain, but, eh. Keep an open mind, right?

And then I knew I needed to pull up the train into a bustle. Spoiler alert, I'd never done that before either. I'd never done any of this. But the internet had.

The internet's done everything.

Again, I stared at it, pinned it, repinned it, got frustrated, and went to the internet. I found an amazing video on different types of bustles and surprise surprise, I was thinking of the fanciest kind there is.

I started by pulling up the very center of the back, since it was marked with the applique and was the longest part of the train. After that I was so nervous it would come undone I tacked each layer, strongly. I knew essentially what I was doing but I was also making the technique up as I went along... But it worked out. Then I moved to the right side, put a pin in the seam and then one in between the back and side. I ended up doing two layers, and tacking them both down at the same time. Then I did the same on the left side.

I meant to take more pictures along the way. I also meant to put in more layers. But at this point I was kind of done with this project and it may have been around 2 am the night before Comic Con. So, you get what you get. To make it up to you, here's a picture of me with Nicholas Brendon.
Why? Because I paid for him to look like my best friend, so I'm milking it. That's why.

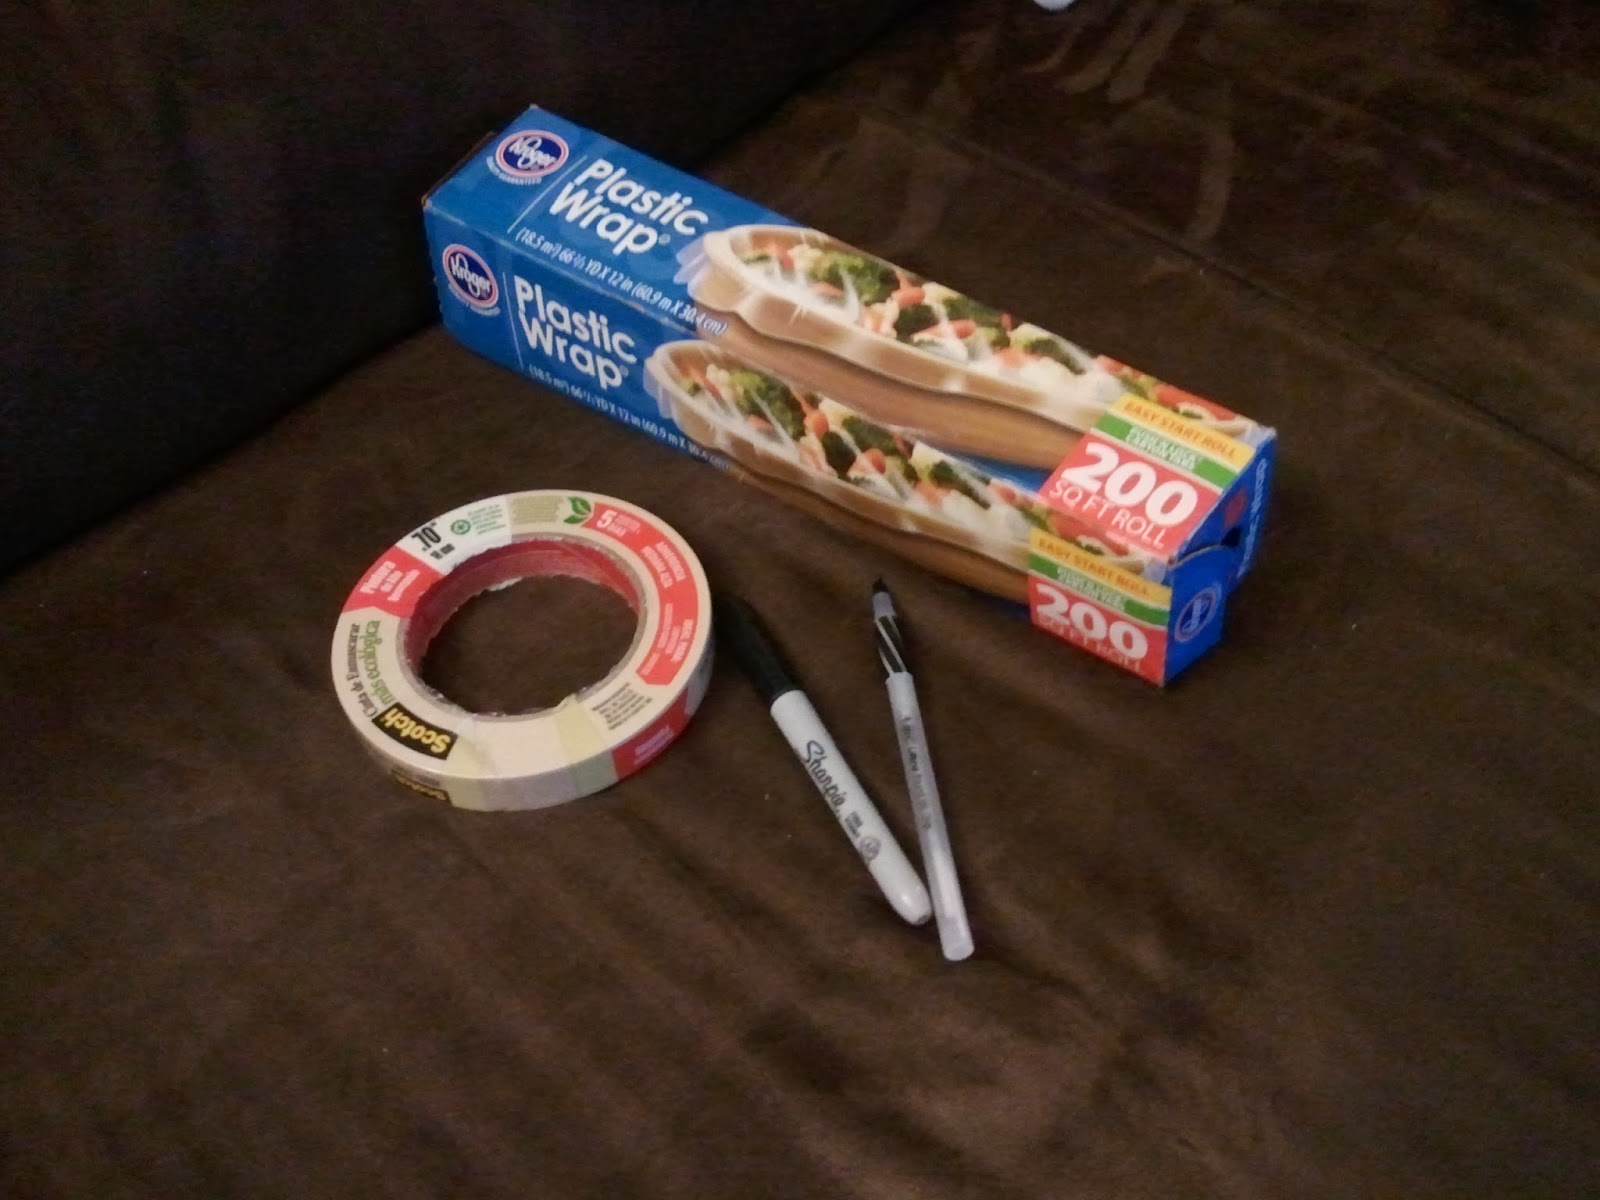
Ah! The hat. There are a lot of tutorials online to make mini hats and top hats and all sorts of hats. I watched a few videos and looked at a few DIY's and then I grabbed an empty frozen pizza box, scissors, duct tape, and two round things to trace while I watched Arrested Development.
Because Jason Bateman, that's why.
Oh, and genius hilarity, that too.
But yeah.
 
I cut out a smaller circle for the top of the hat, a larger circle for the bottom of the hat. Then I cut a strip and taped it around the smaller circle. To be honest, I just eyeballed the whole thing and covered it with duct tape. 
 
 At one point, I realized that one side of the strip I cut for the side of the hat would have made one side taller than the other. I cut it off, but if I did this again I would probably make if skewed on purpose, because that would have been spectacular.
 
Also, I would have made it an oval because thanks to an idea pioneered by my brilliant mother, I punctured a hole in the side so I could install a clock. A clock. Inside the hat. I told you she was brilliant! The only one I could find small enough on such short notice (did I mention it was the night before?) didn't have a second hand which would have blown everyone's minds but no matter, it worked out. Thanks to a screwdriver to poke a hole, and duct tape to keep things in place. Handy-dandy.
 
Lastly, I cut off a swath of the lining from the front of the dress that I didn't need anymore and used it to cover the hat, since the duct tape didn't really match. I had some tacky glue that I adhered it with. Pro tip, start at the top of the hat and don't worry about the part where the brim meets the hat, since you can cover that with a hat band. It may have been because it was 3:30 in the morning, but I did that backwards. Also, lining is a bit thin so while it worked it would not be my future choice.
But, a couple Arrested Development episodes later, voila! I snipped off a few applique flowers from the underside of the newly formed bustle and in the morning, duct taped it to a headband. (Which I completely forgot to get until I'd finished the hat - isn't it great to procrastinate?)

All in all, I'm really rather proud of how it turned out! It was new, and exciting, and turned out great for my first time, I think. Plus, people at Comic Con were STUNNED at how much work (they thought) I put into it and took my picture often, which made me feel greatly validated for staying up almost all night!
Last life tip I'll leave you with is that not only are heels never a good choice, which I think everyone knows, but they are also never an okay choice. Not even for whatever you're thinking of, and especially not for a day of walking and never sitting down.

But it was worth it!